In the WordPress ecosystem, Elementor has shifted from being a simple page builder to a full-blown development framework. But as you move from “user” to “creator,” you eventually hit a ceiling with standard widgets. You realize that static fields—one text box for one headline—simply aren’t enough for modern web design.
If you’ve ever wanted to build a Custom Testimonial Slider, an Accordion with unlimited rows, or a Dynamic Pricing Table, you need to master the Repeater Control.
In this comprehensive guide, we’ll explore everything from the basic syntax to advanced performance optimization for the Elementor Repeater.
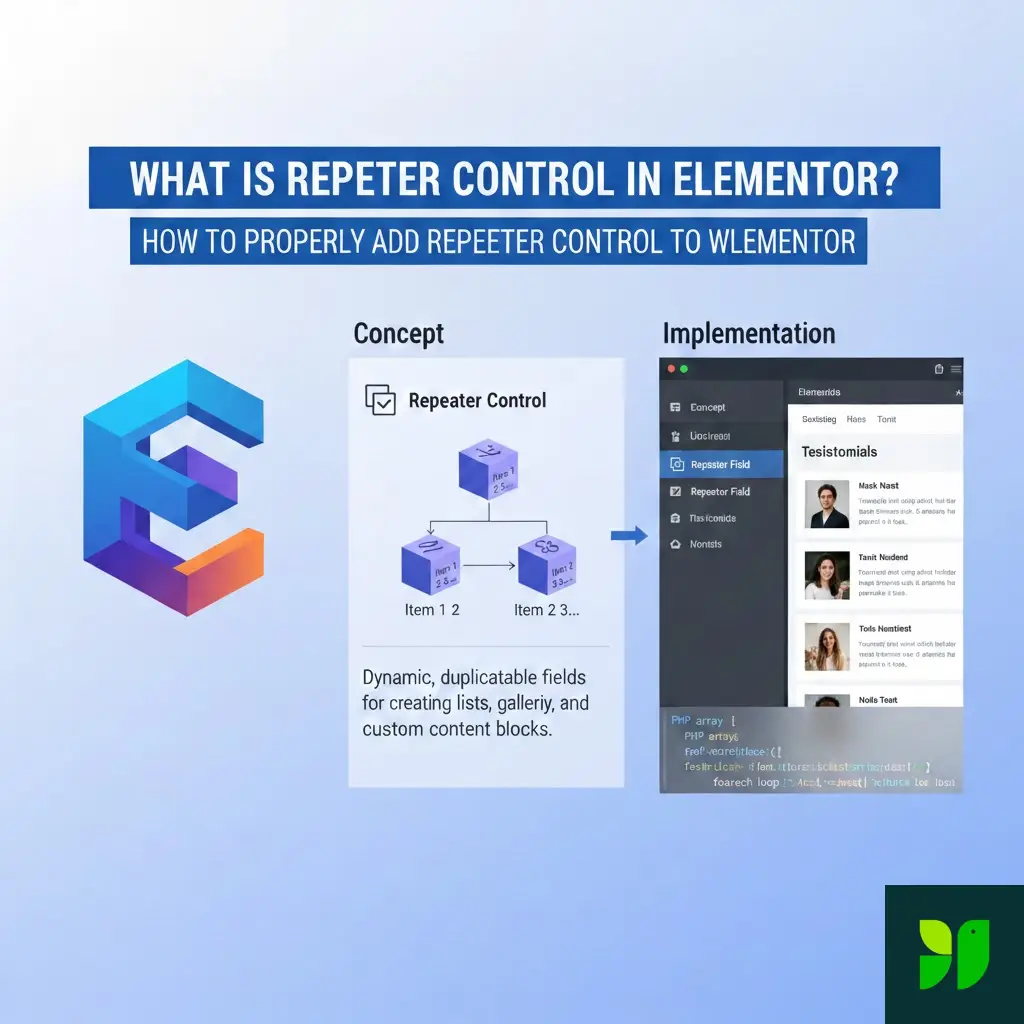
What Exactly is the Elementor Repeater Control?
In technical terms, the Repeater is a UI wrapper for an array of data. In layman’s terms, it’s a “List Maker” for your widget’s sidebar.
Standard controls are 1:1. You add a TEXT control, and the user gets one text box. The Repeater control is 1:N (One-to-Many). You define a “template” of controls, and the user can press a button to duplicate that template as many times as they wish.
Real-World Use Cases:
Icon Lists: A set of features where each item needs an icon, a title, and a link.
Team Members: A gallery where each entry requires a photo, name, job title, and social media links.
Timelines: A vertical list where each point has a date, description, and color setting.
Why Developers Love (and Need) Repeaters
If you were coding a site from scratch, you might use a Repeater field in ACF (Advanced Custom Fields). The Elementor Repeater is the native equivalent for widget development.
Clean Code vs. Messy Code
Without a repeater, if you wanted to allow up to 5 features, you would have to register 15 separate controls (Feature 1 Title, Feature 1 Icon, Feature 1 Link… up to Feature 5).
With a repeater, you register one control. This makes your PHP file significantly smaller and much easier to maintain. If you decide to add a “Color” option to the features later, you add it once to the repeater template, and it instantly becomes available for all items.
The User Experience (UX) Factor
For the end-user (the person building the page), a repeater feels intuitive. It allows them to drag-and-drop items to reorder them, delete specific rows, or duplicate an existing row to save time.
The Technical Architecture: How it Works Under the Hood
Before writing code, it helps to understand how Elementor handles this data.
The PHP Side: When the user saves the page, Elementor stores the Repeater data as a multidimensional array in the WordPress database (within the post meta).
The JS Side: In the editor, Elementor uses Backbone.js and Underscore.js. The repeater is managed as a “Collection.” When a user adds an item, the JS model updates, and the “Live Preview” re-renders.
Step-by-Step Implementation: Coding the Repeater
Let’s build a “Brand Logo Grid” widget. Each item in our repeater will have an image (the logo), a text field (the company name), and a URL (the company website).
Step 1: Initialize the Repeater Class
Inside your widget’s register_controls() method, you must first create a new instance of the Repeater class. This acts as a temporary container for your sub-controls.
$repeater = new \Elementor\Repeater();
Step 2: Define the “Sub-Controls”
Now we add the fields to the $repeater object. Note that these IDs (company_name, company_logo) only need to be unique within the repeater.
Step 3: Register the Main Repeater Control
Now, we attach that $repeater object to our widget’s main control section.
title_field Secret: Using {{{ company_name }}} allows the Elementor sidebar to show the actual name of the company on the collapsed list item. This is vital for usability when a user has 20 items.Frontend Rendering: Displaying the Data
Now that the data is saved, we need to show it. This happens in the render() method. We will use a foreach loop to iterate through the array.
Achieving “Instant” Previews with _content_template
If you stop at the PHP render() method, the user will have to wait for the page to refresh every time they add a new item or change a title. To make it feel like a modern app, you need to use the _content_template() method.
This uses Underscore.js syntax. It’s essentially a JavaScript version of your PHP loop.
SEO and Performance Considerations
When building widgets with Repeaters, it’s easy to accidentally create “Heavy” pages. Here is how to keep your site fast and SEO-friendly:
Image Optimization
Inside a repeater, users often upload massive images. Use Elementor’s Group_Control_Image_Size inside your repeater to allow users to choose thumbnail sizes (e.g., thumbnail, medium, large). This prevents loading a 4K image for a tiny logo grid.
DOM Depth
Every item in a repeater adds HTML tags. If you have a repeater inside a repeater (yes, it’s possible!), you can quickly end up with a “Deep DOM” warning in Google PageSpeed Insights. Keep your HTML wrapper structure as flat as possible.
Semantic HTML
Ensure your repeater items use proper tags. If the repeater is a list of services, use <ul> and <li>. If it’s a set of articles, use <article>. Search engines use this structure to understand the relationship between the items in your list.
Common Errors and How to Fix Them
“Class ‘Elementor\Repeater’ not found”
This usually happens because of a Namespace issue. If you are coding inside a specific namespace, you must use the absolute path: $repeater = new \Elementor\Repeater(); (with the leading backslash).
“The Title Field is showing ‘Item #1′”
Check your title_field setting. It must match the ID of one of the controls inside the repeater and must be wrapped in triple curly braces: {{{ control_id }}}.
“Changes aren’t showing in the Live Preview”
This means there is a mismatch between your render() (PHP) and your _content_template() (JS). Ensure that the logic in both is identical. If you added a new field to PHP, you must add it to the JS template as well.
Expanding Your Knowledge: Nested Repeaters
Did you know you can put a Repeater inside a Repeater? Example: A “Menu” widget where the top-level repeater is the “Category” (Appetizers, Mains, Drinks) and the inner repeater is the “Individual Dish.”
While powerful, use nested repeaters sparingly. They can make the Elementor editing panel feel sluggish and complex for the end-user.
Summary and Key Takeaways
The Elementor Repeater control is the bridge between static web design and dynamic application building. By following the Initialize -> Define -> Register -> Render workflow, you can build any complex layout imaginable.
Key Points to Remember:
Always use
_content_templatefor the best user experience.Use
title_fieldto keep the editor organized.Sanitize your output using
esc_urlandesc_htmlin your PHP render.Leverage Default Values so the widget looks good the moment it’s dragged onto the page.
Next Steps for Your Development Journey
Now that you understand the theory and the code, the best way to learn is by doing.